We all love flowers, but, let’s be honest, throwing away those dried blooms is heartbreaking–especially if they are keepsakes from an important life event. What if we told you there are ways to incorporate dried flowers into your crafts and keep them in your life longer?
Not only does a dried flowers bouquet make for perfect home decor, but they are also quite easy to use in artsy projects and preserve for decades on end!
So, whether you’re a gardener with emotional attachments to your flowers (like us!) or have some flowers lying around from a recent event, this guide will open your eyes to new possibilities of having fun with your dead botanicals and upcycling them!
There are several methods to dry your blooms and preserve them before integrating them into your arts & crafts projects. Let’s take a look at some of the easiest methods you can try:
Once you’ve dried your flowers, it’s time to start your DIY crafts project. Take a look at some of the ideas below for inspiration:
If you’ve used the pressing method, one of the easiest ways to display your dried flowers is through a framed glass. Take your pressed flowers and glue them on a piece of paper. You can get as creative as you like or go for a more minimalistic approach. Once you’re done, place your creation in a frame of your choice.
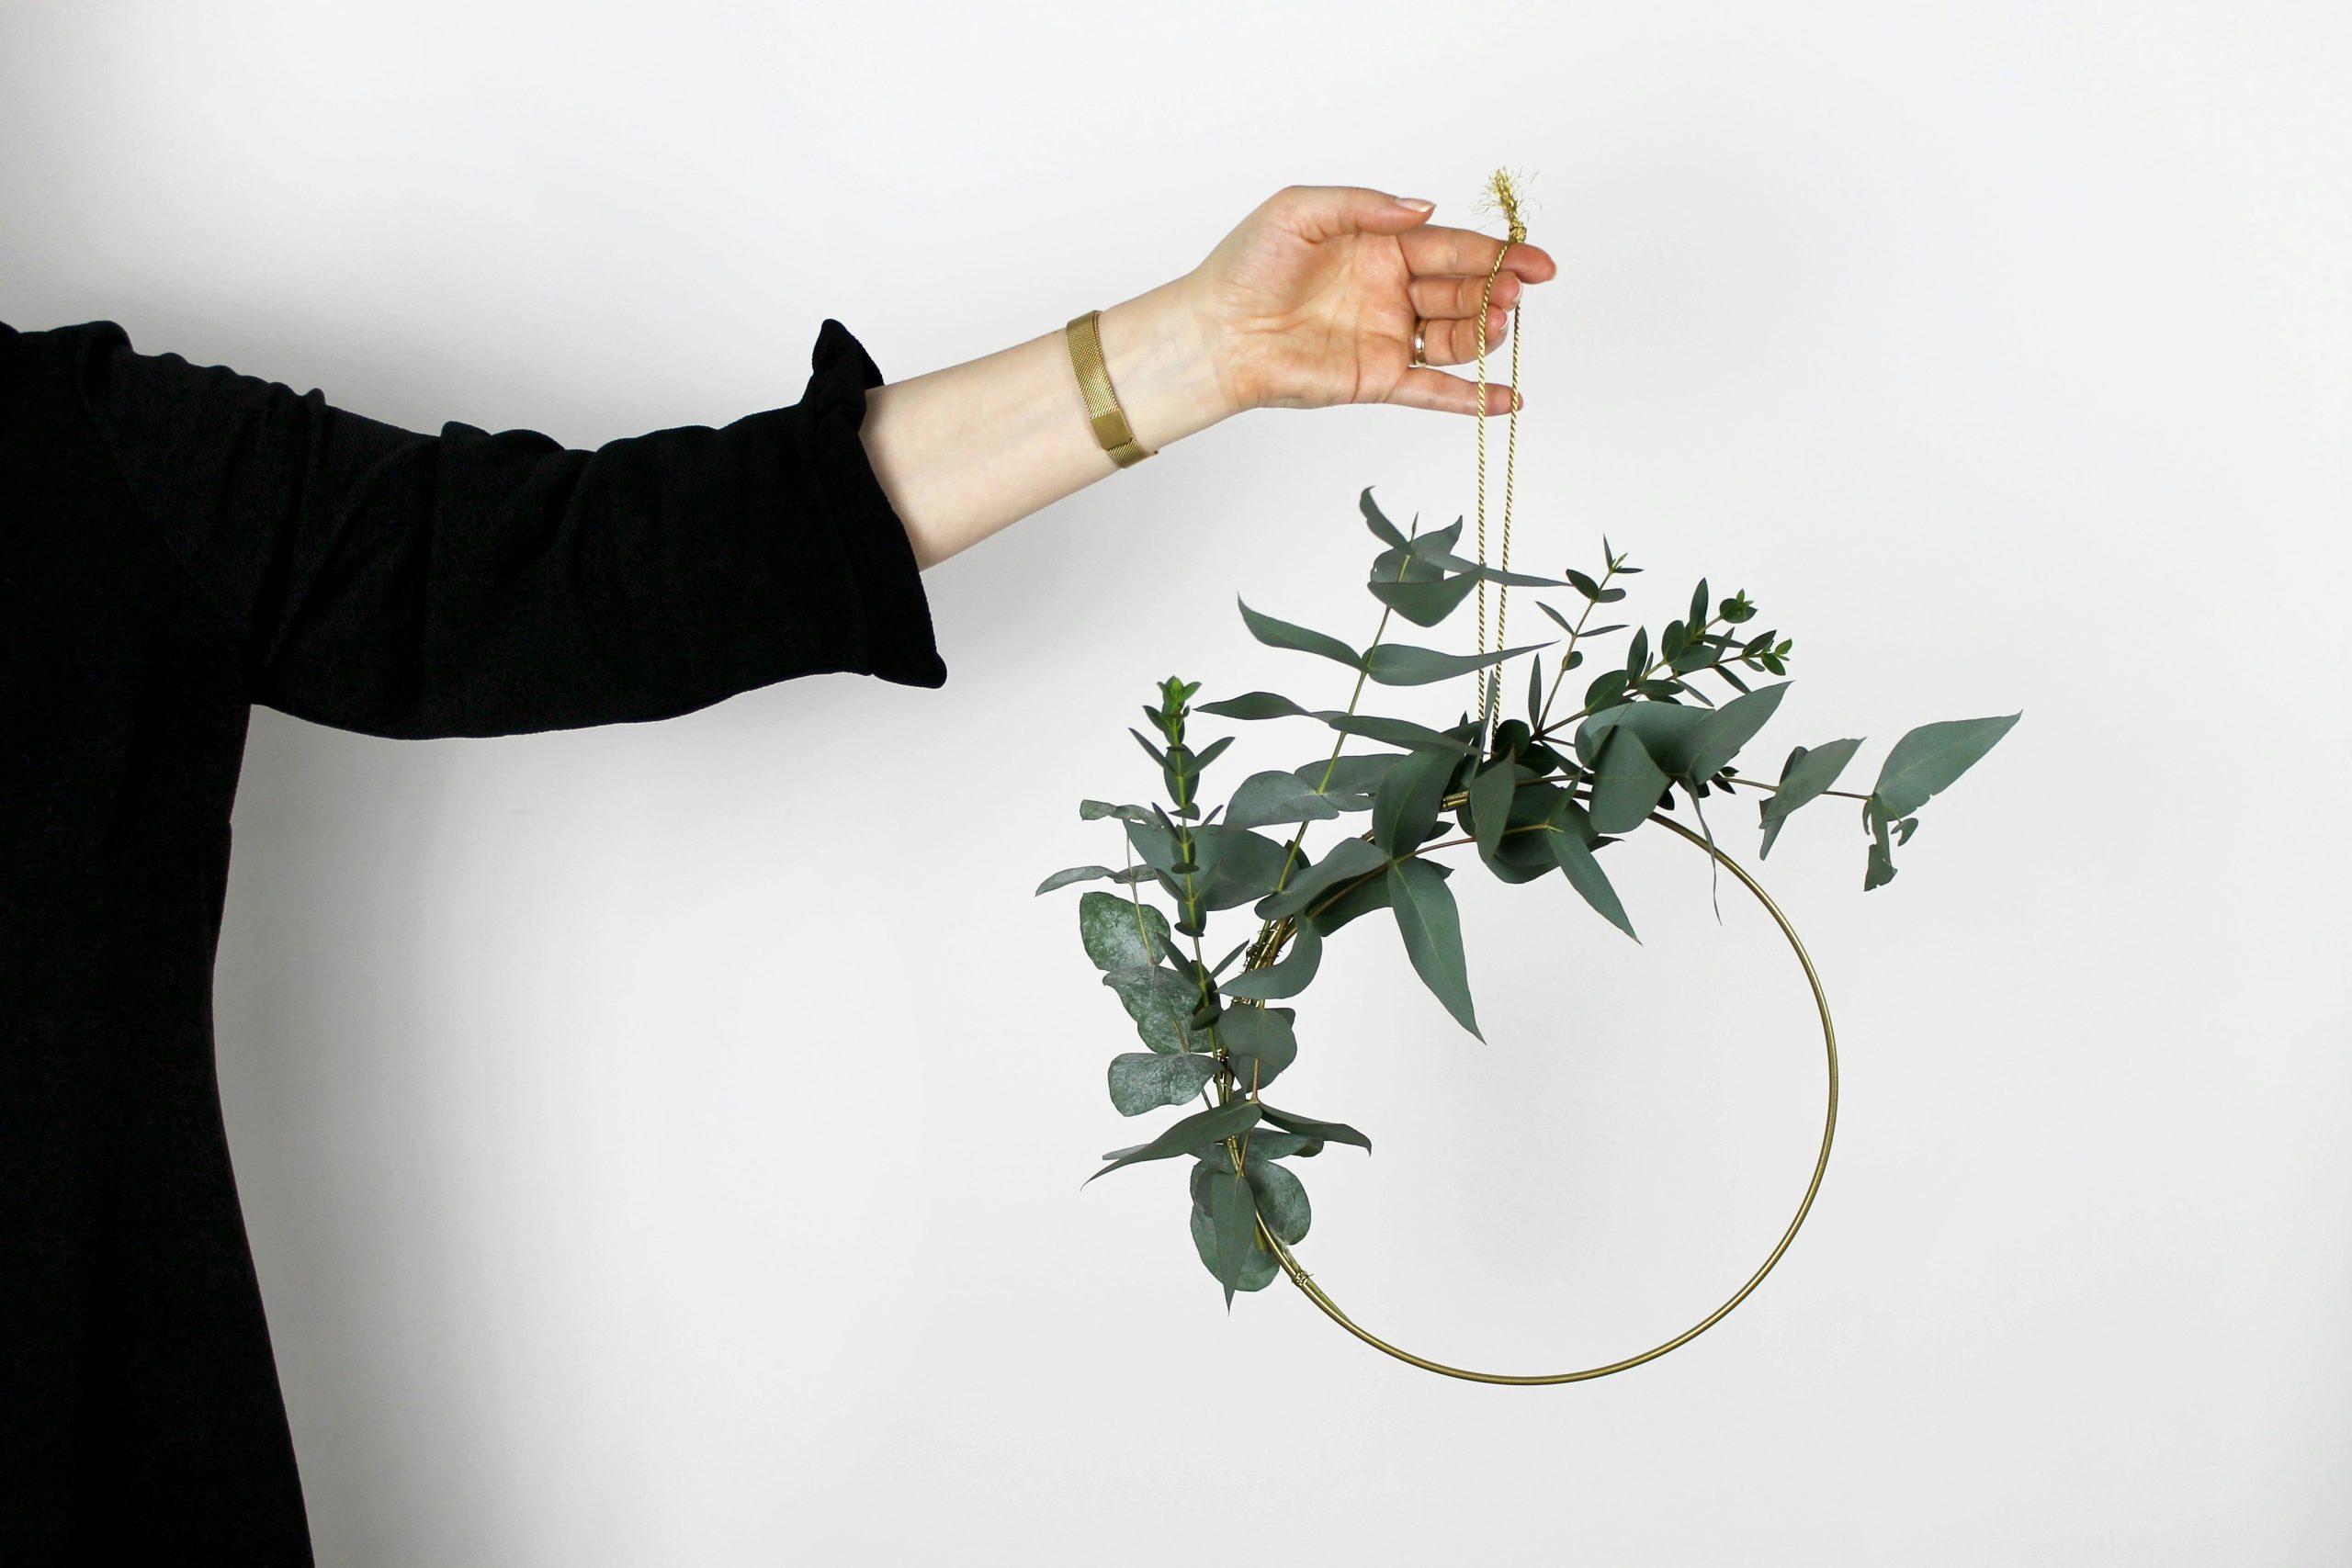
All you’ll need to create your very own dried flower wreath is, of course, a wreath (we recommend using a grapevine wreath) and some hot glue. If you want to add some colour to your wreaths but don’t have enough dry flowers, consider taking a look at our collection.
These Japanese bottles are not only a unique and pretty decor statement for homes but they’re also quite easy to make. All you’ll need is some oil and a clear, airtight glass bottle or jar. You can use pressed flowers, plant materials, branches, and dried flowers and suspend them in the jar with mineral oil.
Candles are extremely fun to make AND they’re a perfect gift choice as well. Although there are several steps involved in candle creation using dried flowers, they’re still relatively easier to make. You’d be surprised at how well they turn out in the end. Here’s how you can make one:

In addition to dried flower candles, you can also add leftover dried petals to candle holders. Simply take a plain glass candle holder or a mason jar and some glue. Apply a thin layer of glue all over your jar and start sticking the petals as scarcely or generously as you want.
If you’re a fan of monogram wall art, this is a simple yet wonderful decor option for you. You’ll need:
Now, you may think we’re gonna make you do some embroidery work. Don’t worry, that’s not where this is headed.
Simply draw or print a letter on the card and cut the outline of the letter’s shape. Next, use it as a stencil to create the letter on your canvas. Stretch your canvas on the embroidery hoop, ensuring your letter is in the centre.
Use the fabric glue to cover the entire letter and start placing small dried flowers on the canvas. Glue the excess fabric on the back of the canvas or simply trim it and hang it on your wall.
All you’ll need for this, as you may have guessed, are some pressed flowers and a clear contact paper. For this kind of project, it’s best to use smaller, easily flattened, and colourful blooms. Once you have everything, cut a strip from your clear contact paper and stick some flowers on the sticky side.
After that, cut a slightly larger piece of contact paper and stick it on the sticky side of the other paper–where you stuck your pressed flowers. Lastly, trim the larger paper to the size of the smaller one as well as any flower hanging out.
Drying, pressing, and preserving flowers can sometimes be difficult. You either don’t have the right tools or you don’t have enough know-how to dry the differently sized and shaped flowers. All of this can take from the fun of creating crafts. Don’t let the daunting drying process stop you from creating stunning decor; take a look at our collection of beautifully dried flowers now!